
Astrophotography without a telescope
One of the best ways to get started with astrophotography is not to use a telescope. The concepts of exposure, focus, camera stability and others are learned quite naturally with a simple digital camera or, in a pinch, a recent cell phone. And even for experts, the photo of “astronomical landscapes”, also called nightscapes, without a telescope, represents a very interesting activity.
Here are some tips to get you started.
")


1) With a cell phone:
The stability of the camera is the most important point for taking beautiful astronomical photos. This is necessary because there is little light entering compared to photos taken in daytime. It is therefore necessary to take longer exposures and, if the camera moves while taking a photo, it will not be very pretty.
Maintaining the necessary stability with a cell phone is not always easy. One thing that works well and that I use regularly is to lean on the roof of the car and even put the phone squarely on the roof, tilting it and turning it towards the desired target. Instead of a car, any other fixed object can do the trick.

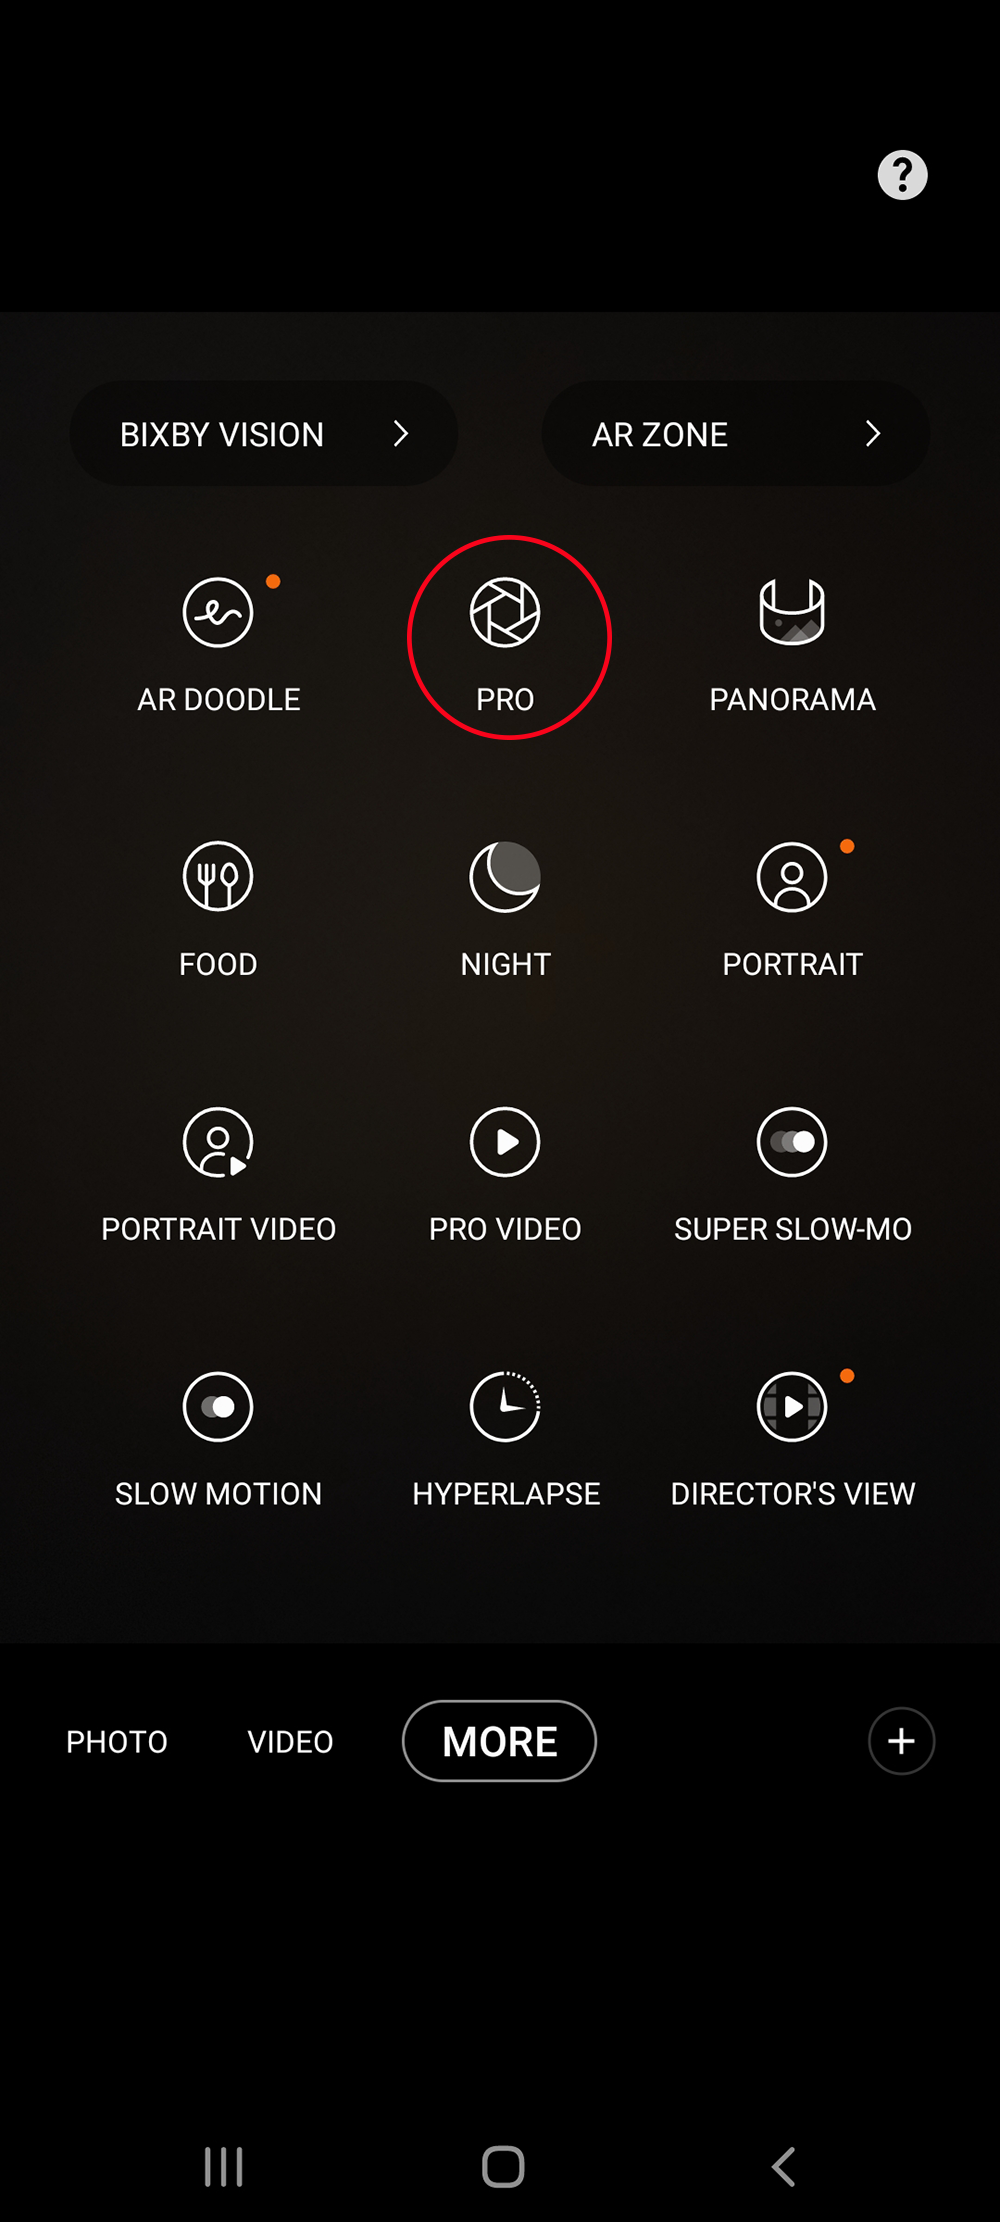
Select the PRO mode
Most cell phone cameras provide a pro or manual mode in order to control all the parameters of the camera. That mode is the only way to go for astrophotography.
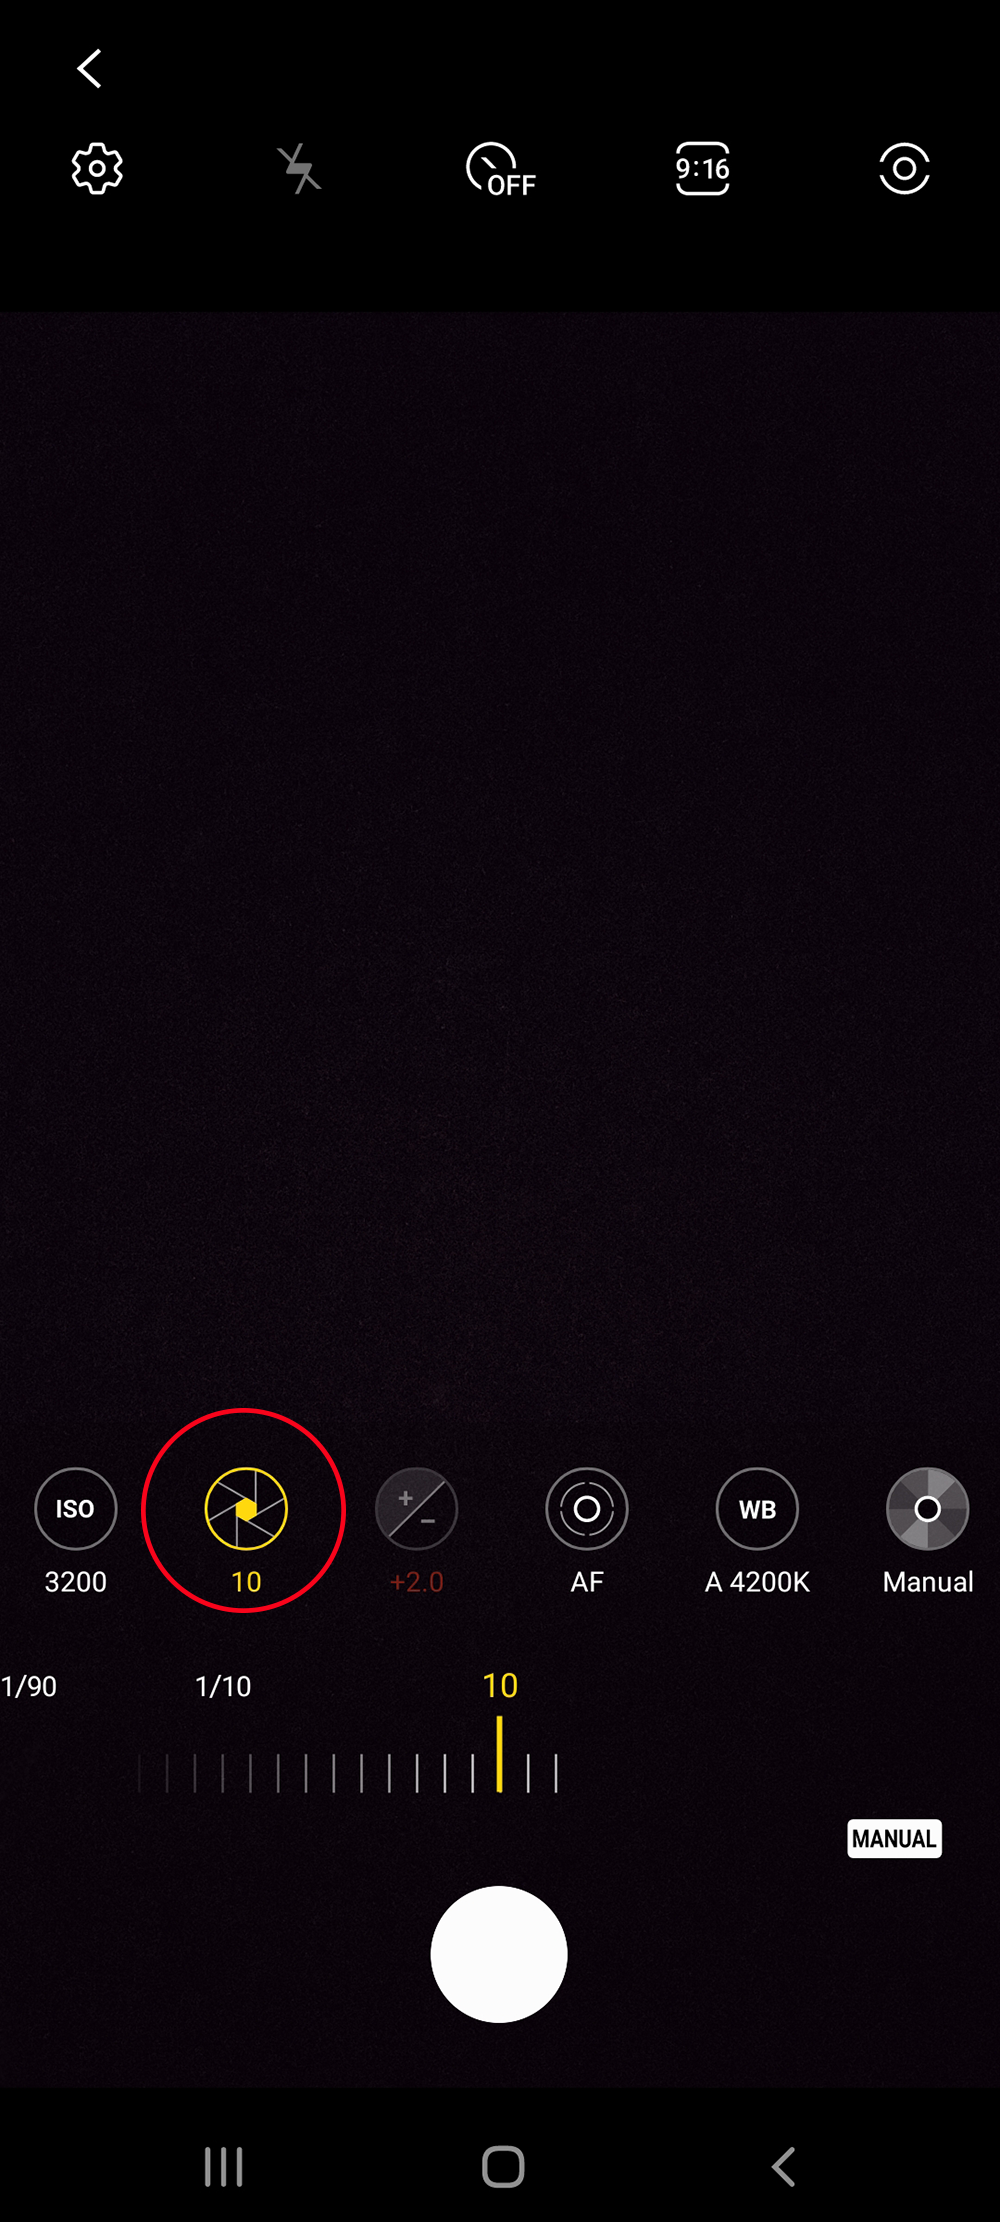
Set the exposure to manual mode
Celestial landscapes require longer exposures. Use the slider to select the proper exposure and look at the results with different settings. Each situation is unique.
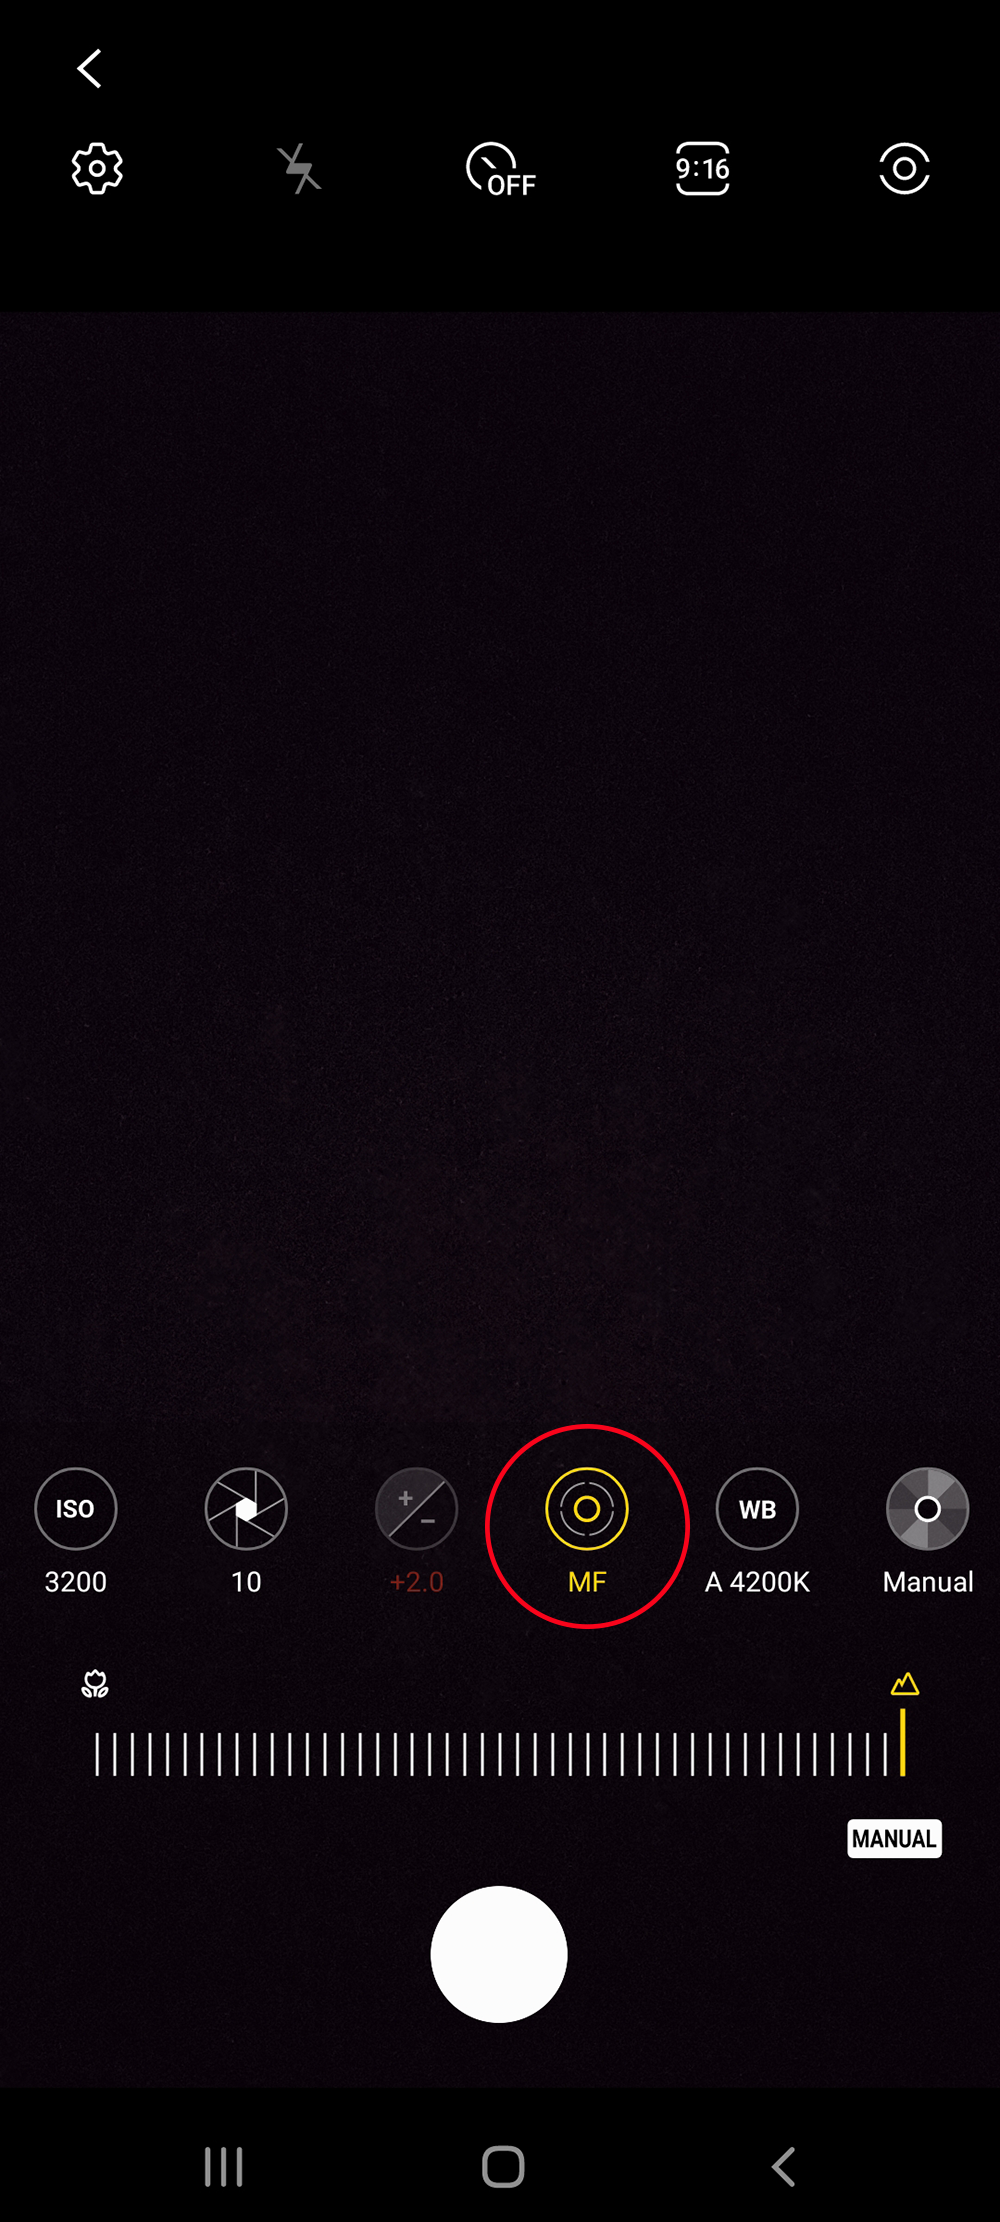
Select Manual Focus (MF)
Autofocus does not work in low light conditions or with isolated targets like the moon or a star. It will just move in and out of focus. In manual mode, select the rightmost setting (infinity).
2) With a digital camera (DSLR):
Digital cameras allow you to capture shots with a very wide field of view that is well suited to celestial phenomena such as planetary alignments and grand views of the Milky Way, or even the Northern Lights.
We can distinguish two types of photos depending on whether we use a fixed tripod or a light equatorial mount. More information on this later.
It is imperative to use a device with interchangeable lenses and to perform manual focusing. Depending on the width of the subject, we will choose a wide-angle, regular, or telephoto lens. In the latter case, you should not exceed a focal length of 200mm unless you are using a light equatorial mount and have some experience. Otherwise, the photos will be blurry.

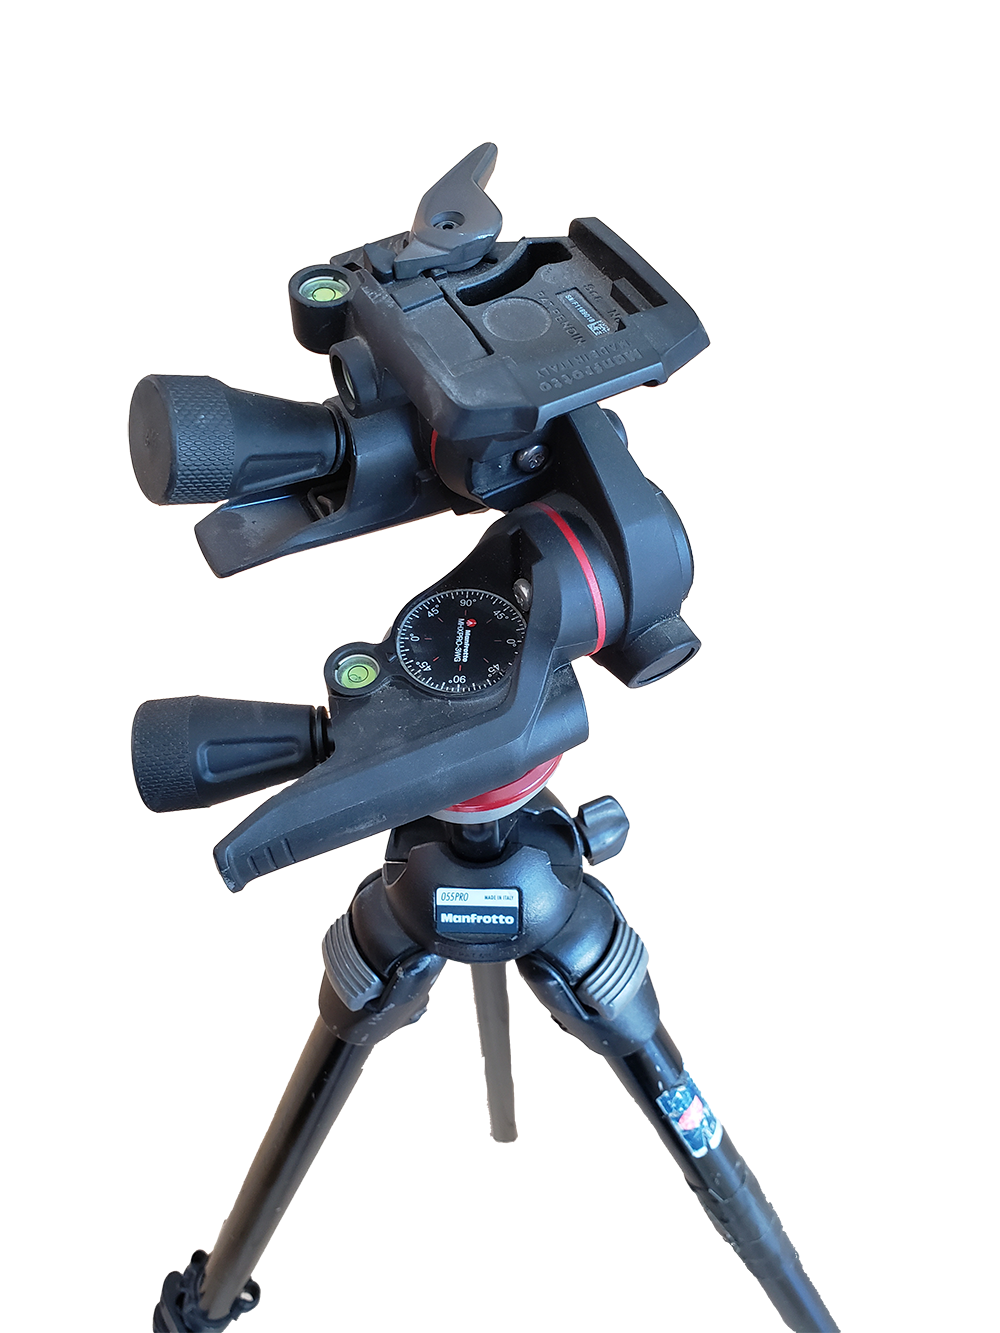
Sturdy tripod and head
A sturdy tripod helps prevent blurry photos, especially when it’s windy. An adjustable ball head with fine movements (Manfrotto MHXPRO-3WG) is not essential but makes it easier to center our target.
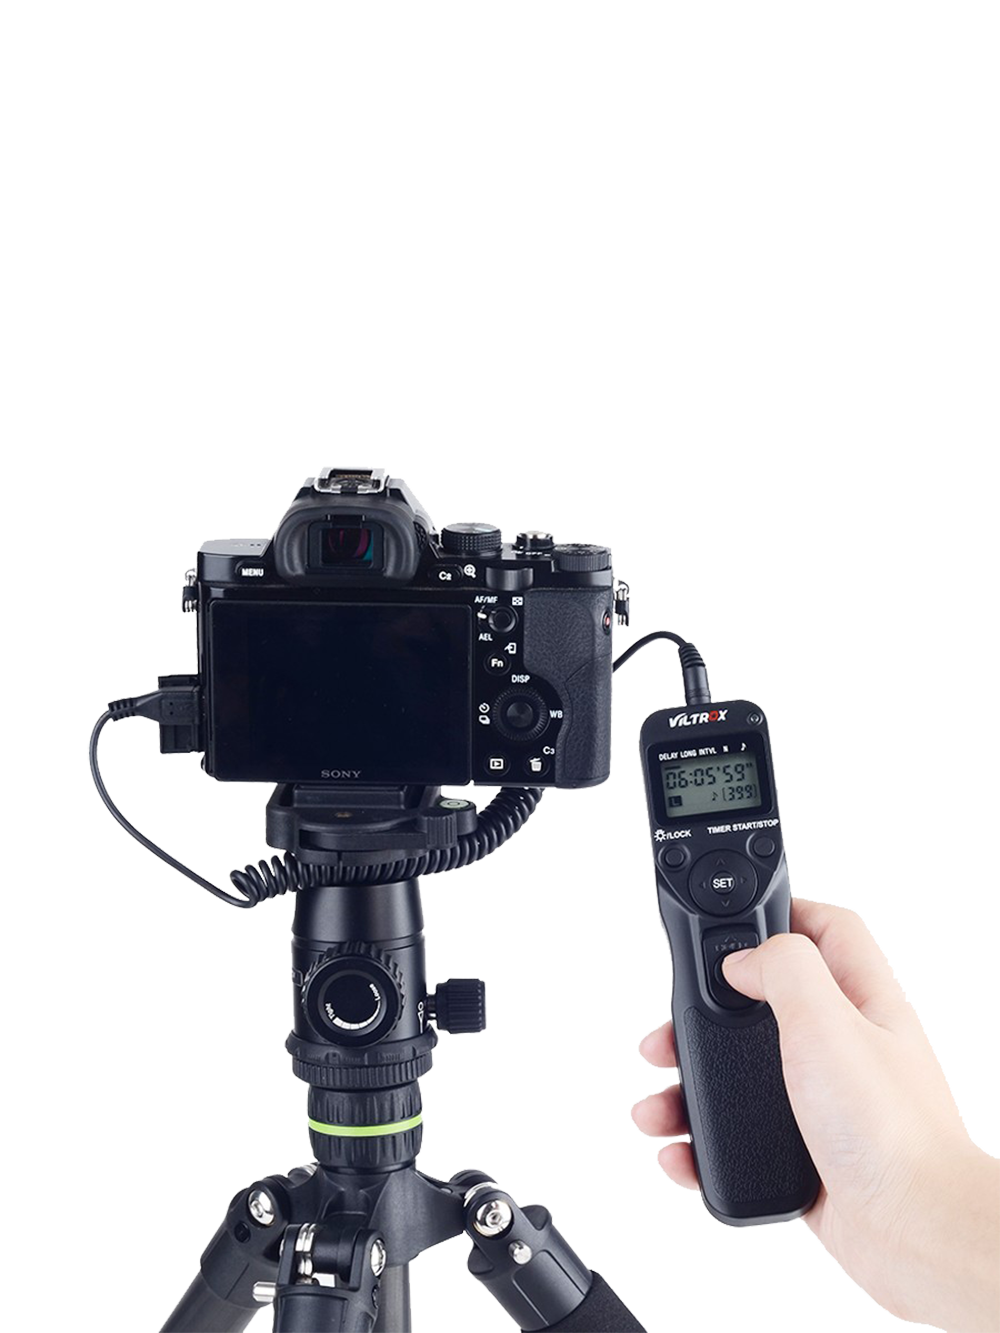
An intervalometer
Corded or wireless, an intervalometer is a must in astrophotography. Not very expensive ($50-$70) this programmable remote shutter release allows you to perform one or more exposures without touching the camera.
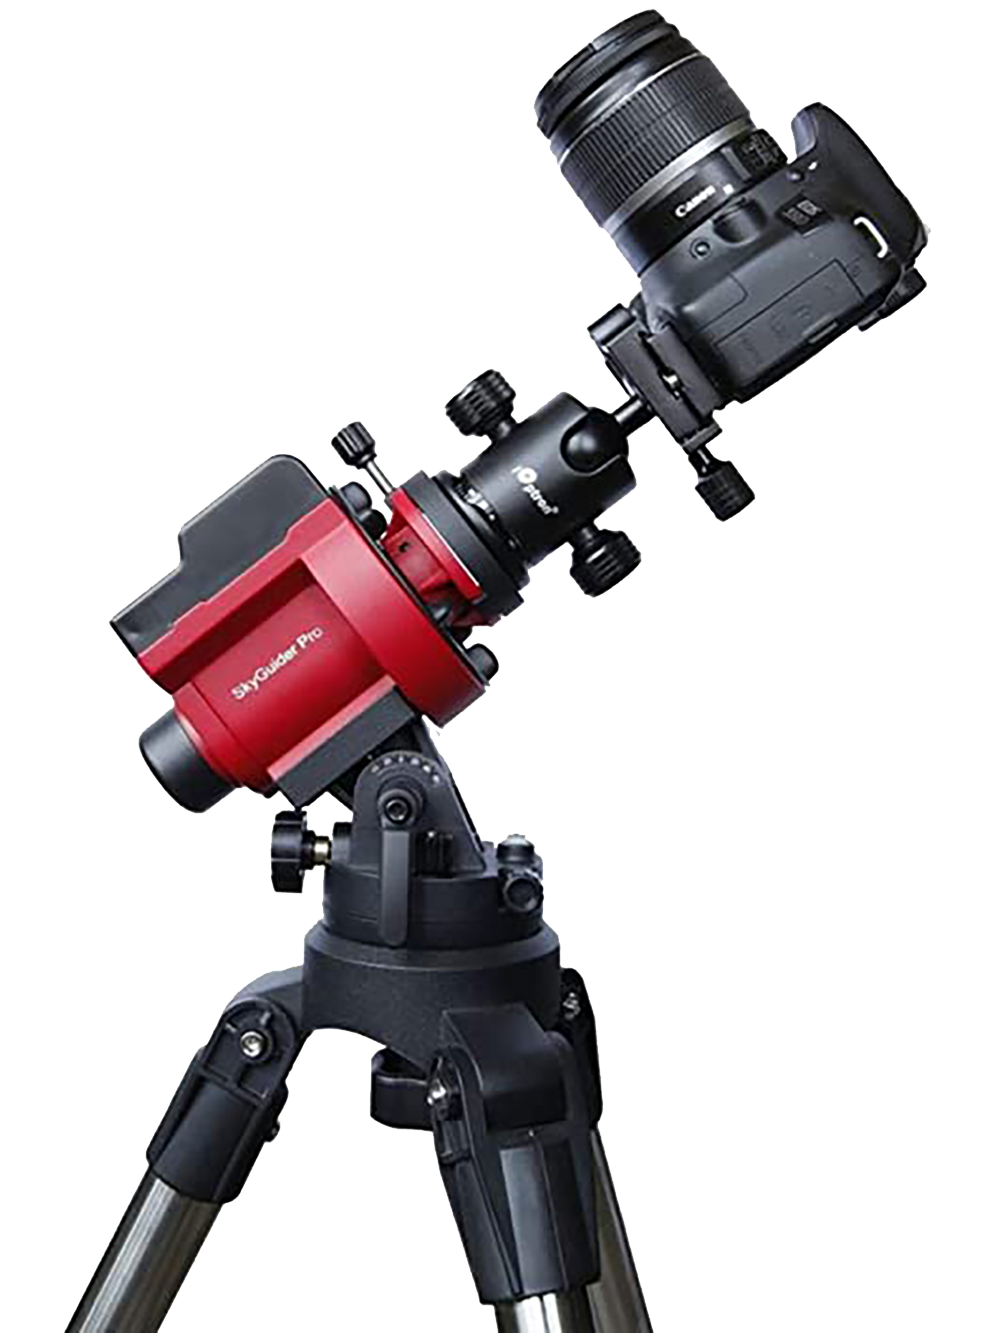
Light equatorial mount
With a camera on a fixed tripod, exposures are limited to a few seconds. A light equatorial mount makes it possible to counteract the movement of the stars due to the rotation of the Earth and allows for poses lasting up to several minutes. ($600-$700)
A few photos made without a telescope

